Trail Camera Evidence: A Practical Guide to Sorting Bucks, Does, and Deer Movement
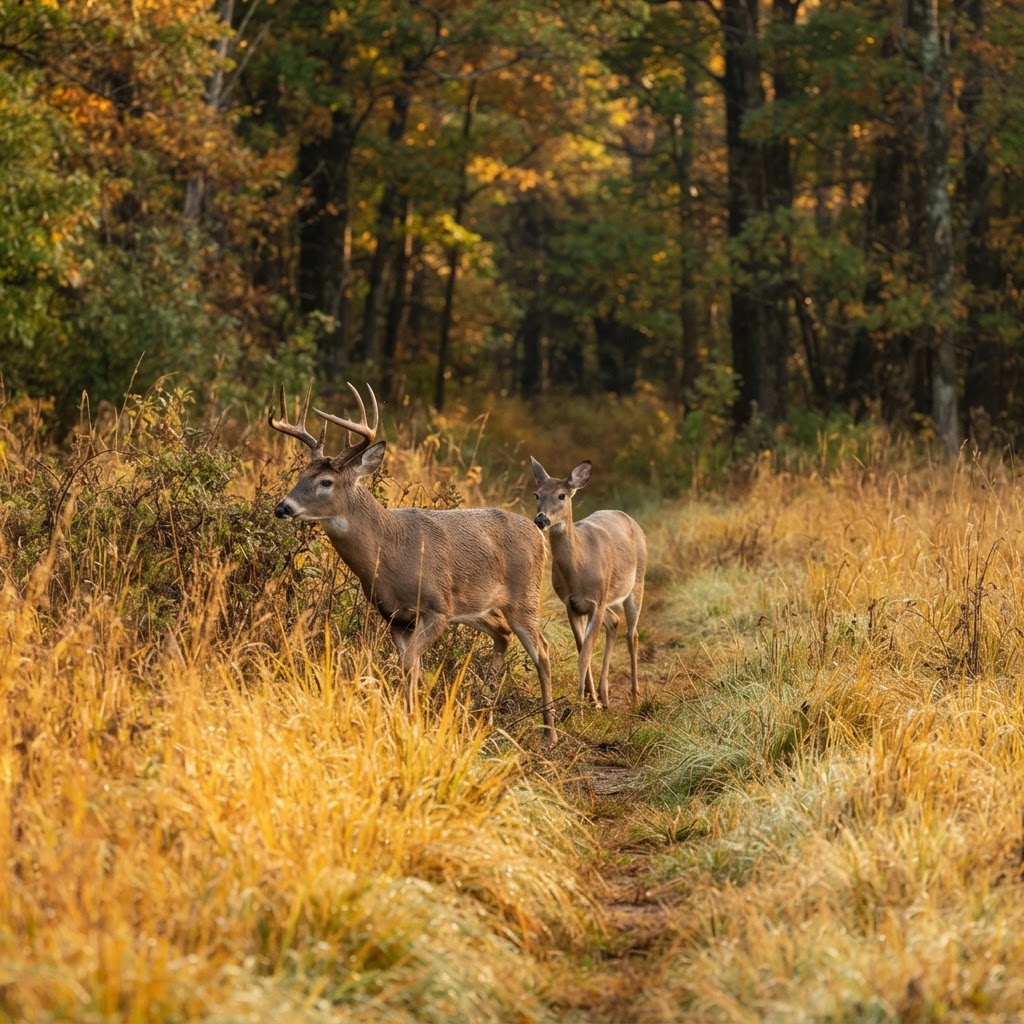
A trail camera can collect thousands of images before you ever climb into a stand. The problem is not a lack of information—it is finding the useful information quickly. Blurred nighttime photos, repeated doe pictures, multiple angles of the same buck, and empty frames can make it difficult to understand what is actually happening on your property.
That is where AI-assisted trail camera photo analysis helps. Instead of treating every image as an isolated snapshot, you can use the Buckeye Hunter Hub tool to sort deer photos, distinguish bucks from does, and look for recurring movement clues. The technology does not replace careful scouting or ethical decision-making, but it can make your camera data far easier to interpret.
Free hunting map, zones & 50-state resources
Save your spots, share zones with your group, and get deer & waterfowl movement forecasts — free.
What This Analysis Can Reveal
A single photo may confirm that deer are using an area. A group of photos can tell you much more: which sex classes are present, when deer are appearing, whether a buck is showing up repeatedly, and whether activity changes as daylight, weather, or the season shifts.
AI analysis is especially useful for three common problems:
- Separating bucks and does: Antlers, body shape, head profile, and other visible characteristics can help categorize deer in an image.
- Reducing time spent reviewing images: Instead of manually studying every frame, you can focus on photos that contain deer and potentially important individuals.
- Finding timing patterns: Photo timestamps can show whether deer are moving during daylight, near legal shooting hours, or primarily after dark.
The results should be treated as scouting assistance rather than absolute identification. A partially hidden deer, poor lighting, unusual angle, or overlapping animals can challenge any image-analysis system. Always review the original photo before making a hunting decision.
How to Use Free AI Trail Camera Photo Analysis
1. Prepare the best images you have
Start with a manageable batch of trail camera photos. Clear daytime images are ideal for learning the tool, but nighttime infrared photos can also provide valuable information about presence and timing. Include a mix of images if you want to evaluate how well the system handles your real-world camera conditions.
Before uploading, remove obvious duplicates if your camera captures several nearly identical frames. You do not need to eliminate every repeated photo, however. Repeated images can help show whether several deer were traveling together or whether one animal lingered in front of the camera.
2. Open the trail camera analysis feature
Inside the Buckeye Hunter Hub app, open the trail camera photo analysis feature. Upload the selected images according to the prompts. If the tool accepts multiple photos, begin with a small batch so you can understand the results before adding a larger portion of your library.
Use descriptive file names or preserve the original camera data whenever possible. Dates, times, camera locations, and direction of view are important later, especially when you compare activity from different sites.
3. Let the system scan the photos
Texas · E-Tag State

Texas Harvest Tags
E-check means you supply the tag. Printed with the exact fields Texas requires.
3-pack $22.95
The analysis reviews each image for visible deer and attempts to identify useful categories, such as bucks, does, or other movement details supported by the image. Give the tool time to process the batch, particularly when working with high-resolution files or many photos.
Do not expect every frame to produce a confident conclusion. A deer facing away from the camera may be difficult to classify, while a clear broadside buck may be much easier to evaluate. Think of the output as a first-pass sorting system that helps direct your attention.
4. Review the classifications against the originals
Raise a safe, confident young hunter.
Guide your kids ages 5–17 through interactive hunting safety missions, real decision drills, and earned trophies — all from one free parent account.
Bonus: every $10 you spend in the BHH shop earns a free seat (up to 5). Use them or share them.


Open the analyzed photos and compare the results with what you can see. Check for obvious errors, including a doe classified as a buck because of a branch, a small antlered deer missed in shadow, or two deer being interpreted as one.
When a buck appears repeatedly, compare body size, antler configuration, beam shape, and unusual markings. Avoid assuming that two similar-looking deer are the same individual based on one feature alone. Several consistent characteristics across multiple dates provide stronger evidence.
5. Turn timestamps into a movement record
Now look beyond the animal label. Record when the deer appeared, where the camera was placed, and what conditions were present. A simple table can include:
- Date and time
- Camera location
- Buck, doe, fawn, or unknown
- Direction of travel, if visible
- Food, cover, water, or trail context
- Weather or temperature, if available
Patterns become more meaningful when they repeat. One photo of a buck at 2 p.m. is interesting. Several daytime appearances along the same route are more actionable. Likewise, a camera may show abundant deer activity while revealing that nearly all of it occurs after dark.
Field Practices That Make the Results Better
Place cameras to answer a question
Do not scatter cameras randomly and hope the photos explain themselves. Decide what you want to learn: whether deer are using a field edge, which side of a bedding area they approach from, or whether a transition corridor is active before dark. Position the camera so the images can answer that question.
Avoid pointing directly east or west when possible, since low sun can wash out photos. Set the camera at a slight angle to the trail rather than straight down the trail. This often gives you more useful body profiles and reduces the chance of a deer appearing as a narrow, difficult-to-classify shape.
Use consistent camera settings
Changing capture intervals, time zones, or date settings can make movement comparisons unreliable. Confirm that the camera clock is correct and keep settings consistent long enough to build a meaningful sample. If you relocate the camera, record the new location and date.
Separate observation from interpretation
A photo proves that a deer was in front of the camera at a particular time. It does not automatically prove where the deer bedded, where it was headed, or how it will behave on the next hunt. Use the analysis to develop questions, then confirm those questions with tracks, beds, rubs, wind conditions, and in-person observation.
For additional context, compare your findings with the and the . Those resources can add broader movement factors without replacing what your own cameras show.
Make AI Part of a Repeatable Scouting Routine
The greatest value comes from running the same process throughout the season. Analyze a new batch, review the classifications, update your movement record, and compare recent activity with older photos. Look for changes as crops mature, leaves fall, temperatures drop, and the rut develops.
Most importantly, use the information to improve decisions—not to create false certainty. A strong photo record can help you choose a more sensible camera location, identify a promising time window, or recognize that a favorite stand is seeing mostly nighttime traffic.
The free AI trail camera analysis feature is available with a Buckeye Hunter Hub membership. Used alongside sound fieldcraft, it turns an overwhelming camera roll into organized evidence you can actually apply.
Join 425 hunters and anglers on Buckeye Hunter Hub — free.
Latest from the Community


New drop
Fresh Buckeye Hunter Hub tees & hoodies


Everything you need to hunt smarter — free
Buckeye Hunter Hub is a free, nationwide platform. Create an account and unlock the full toolkit:
Free Interactive Hunting Map
Mark stands, cameras, and sign. Draw hunting zones with public land & county overlays across all 50 states.
Zones with Group Sharing
Share zones with your hunting group, split property into sections, assign stands, and check in — all in one place.
50 States of Hunting Resources
Season dates, license links, and DNR regulations for every state, kept current so you never miss an opener.
Deer Movement Forecast
Data-driven daily movement predictions using wind, moon, and pressure — know when to sit before you go.
Waterfowl Movement & Tools
Flight-potential forecasts, migration numbers, decoy spread planner, and a full species field guide.
From the Maker Bench

Taggart Outdoors
Padded Rifle Sling
Hand-built in the USA · $134.99
Shop the MakerNew drop
Fresh Buckeye Hunter Hub tees & hoodies
Shop This

StopBox Pro Ward | Wall-Mounted
$179.00$199.99

StopBox Pro Compact
$159.00$179.99

The rut is on
$20.55

Buckeye Hunter Hub Hoodie — Feet Down
$32.87
E-Tag States

Harvest Tags
E-check means you supply the tag. Printed with the exact fields your state requires.
3-pack $22.95
More Articles
The Hunter’s Advantage: Building Better Skills in Buckeye Hunter Hub Groups
The best hunting communities do more than celebrate success—they help members prepare, adapt, and become more thoughtful hunters. Here’s how to get real value from Buckeye Hunter Hub Groups.

Introducing the BHH Gobble Stance Turkey Hoodie: Gear Up for Spring
Get ready for the turkey woods with our new BHH Gobble Stance Turkey Hoodie, designed for those who live for the outdoor lifestyle.

Introducing the BHH Gobble Stance Turkey Tee: Your New Favorite Field-to-Town Staple
Gear up for spring turkey season with the new BHH Gobble Stance Turkey Tee, the perfect blend of comfort and outdoor passion.

Gear Up for the Season: Introducing the New BHH Bugle Bull Elk Hoodie
Meet the ultimate layer for your next adventure. Our new Bugle Bull Elk Hoodie is designed for those who live for the woods, the water, and the wild.