From Snapshot to Strategy: Reading Buck, Doe, and Deer Movement with AI
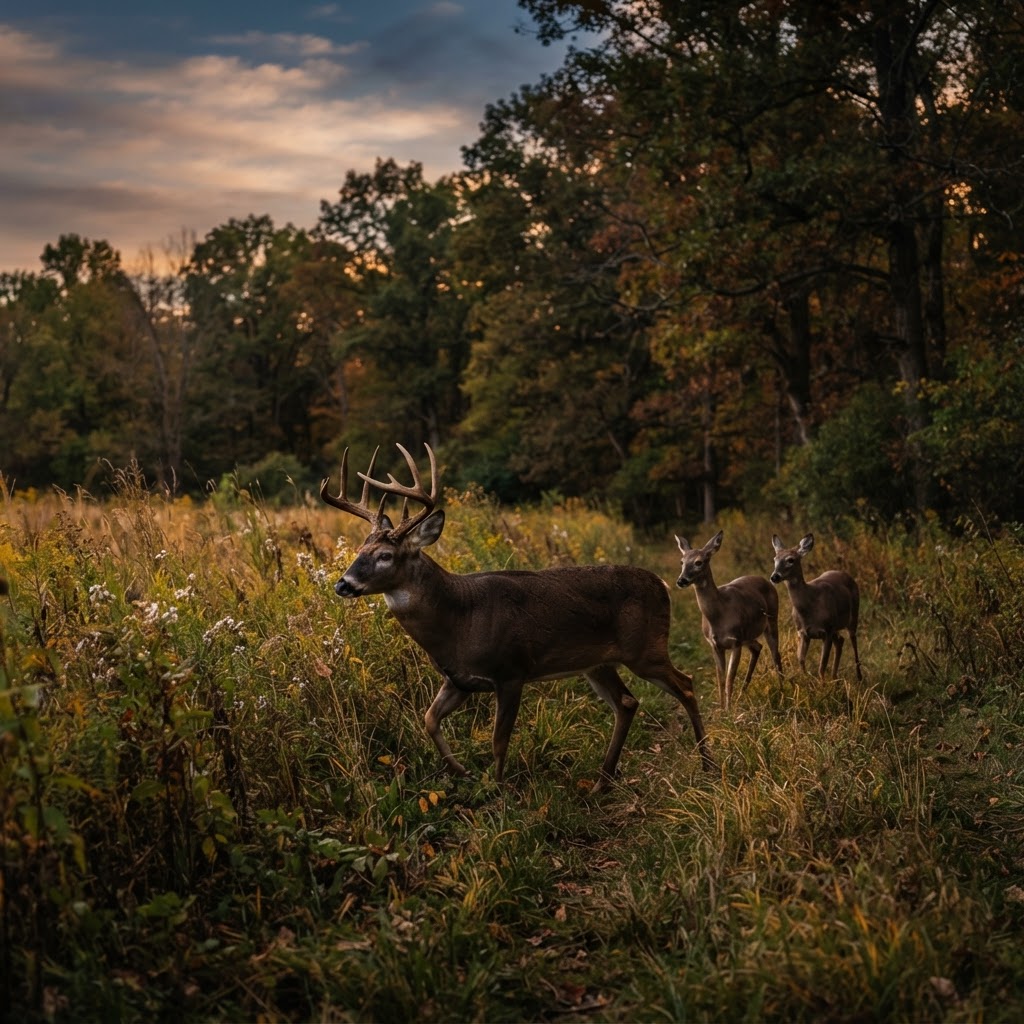
A trail camera rarely fails because it takes too few pictures. The real problem is the opposite: hundreds or thousands of images, repeated deer, nighttime blur, empty frames, and no easy way to determine which observations should influence your next hunt.
That makes it difficult to answer the questions that matter. Is the buck you saw last week still using the area? Are does appearing consistently before dark? Is a scrape attracting several deer, or is the camera simply catching random movement? Sorting every image by hand can consume hours, and rushed sorting often causes hunters to overlook useful patterns.
Free hunting map, zones & 50-state resources
Save your spots, share zones with your group, and get deer & waterfowl movement forecasts — free.
Buckeye Hunter Hub’s AI trail camera photo analysis feature helps solve that problem by giving your photo library structure. It can help you review deer images, distinguish bucks from does and other activity, and recognize recurring timing and location patterns more efficiently. The technology does not replace field judgment, but it gives you a clearer starting point for making decisions.
What the AI Analysis Can Tell You
Before uploading anything, understand what you are trying to learn. Photo analysis is most useful when it supports a specific scouting question rather than becoming a search for interesting pictures.
Depending on the quality and content of your images, the tool can help you identify:
- Whether an image contains a deer or an empty trigger
- Basic classifications such as buck, doe, or fawn
- Repeated appearances from a particular animal or antler profile
- Approximate activity windows by date and time
- Differences between daylight, low-light, and nighttime movement
- Locations or setups producing the most useful observations
AI identification is not perfect. Occluded deer, velvet antlers, unusual angles, poor lighting, and overlapping animals can all create uncertainty. Treat results as organized scouting information—not as an unquestionable biological conclusion.
How to Analyze Trail Camera Photos Step by Step
1. Start with a focused photo batch
Choose a manageable group of images from one camera, location, and time period. A week or two of photos is often more useful than dumping an entire season into the first analysis. Keeping the batch focused makes it easier to connect the results to one trail, food source, pinch point, or field edge.
If your camera creates a large number of nearly identical images, begin with the period when deer activity appears to change—such as the weeks before the rut, the first cold front, or the transition from summer feeding to fall movement.
2. Open the trail camera analysis tool
Sign in to Buckeye Hunter Hub and navigate to the . Follow the upload prompts and select the images you want to review. Use original files when possible instead of screenshots or compressed social media copies. Better image quality gives the system more visual information to work with.
Allow the analysis to finish before drawing conclusions. Large batches may take longer to process, and a complete review is more useful than making decisions from only the first few images that appear.
3. Review classifications before studying patterns
Look through the returned results and separate the images into practical groups: bucks, does, fawns, identifiable individual deer, and non-deer or unusable images. Pay attention to uncertain or ambiguous images rather than automatically accepting every label.
Washington · E-Tag State

Washington Harvest Tags
E-check means you supply the tag. Printed with the exact fields Washington requires.
3-pack $22.95
For bucks, compare body size, antler shape, brow tines, beam angles, missing points, and other visible characteristics. A camera angle can make the same deer look dramatically different, so use several images before deciding that two photos show different animals.
For does and fawns, focus less on individual identity and more on frequency, group size, and timing. A doe family group appearing repeatedly before legal shooting light may tell you more about a hunt setup than one isolated buck photo.
4. Record date, time, and location
Raise a safe, confident young hunter.
Guide your kids ages 5–17 through interactive hunting safety missions, real decision drills, and earned trophies — all from one free parent account.
Bonus: every $10 you spend in the BHH shop earns a free seat (up to 5). Use them or share them.


Classification becomes valuable when it is connected to context. Note the camera location, direction, date, time, wind if known, and nearby cover or food. If your camera supports multiple trigger images, review the full sequence rather than relying on a single frame. The order of the photos may show whether deer were traveling, feeding, or lingering.
Create simple categories such as:
- Daylight movement
- First and last legal-light activity
- Overnight movement
- Feeding-site visits
- Travel along a trail or edge
- Scrape or rub-line activity
You do not need a complicated spreadsheet. Consistent notes are more important than elaborate formatting.
5. Look for repeatable windows
Search for clusters instead of isolated timestamps. For example, a buck photographed once at 3:00 p.m. is an interesting observation. A buck appearing at 2:45, 3:10, and 3:25 p.m. across several days is a possible movement window worth investigating.
Compare buck activity with doe activity. If does consistently arrive before dark and bucks begin appearing shortly afterward, the area may be functioning as a staging or social location. If most deer activity occurs after sunset, the camera may be documenting a destination rather than a huntable travel route.
6. Turn the findings into a field decision
Use the results to refine a plan, not to guarantee an outcome. Decide whether the location is best suited for a morning sit, evening sit, observation hunt, or continued monitoring. Then compare that decision with wind direction, access routes, thermals, pressure, and the current season phase.
The can help provide broader context, but your own camera data should remain the foundation for a specific property. Regional patterns matter; local conditions decide whether a deer actually passes within range.
Field Practices That Make the Analysis Better
Place cameras to reveal travel, not just animals
Aim cameras along trails, crossings, staging cover, scrape lines, and field entrances rather than directly into the rising or setting sun. A slight angle to the trail often produces better side profiles and reduces overexposed images. Mount the camera high enough to reduce theft risk and low enough to capture body shape and antler detail.
Keep camera settings consistent
Changing detection zones, trigger delays, or time settings halfway through a study can make comparisons misleading. Verify the camera clock regularly, especially after battery changes or seasonal time changes.
Use independent evidence
A photo of a buck does not prove that the animal follows the same route every day. Confirm camera findings with tracks, rubs, beds, droppings, food availability, and access conditions. Look for agreement between the images and the ground sign.
Avoid overhunting a promising camera site
Once a camera reveals a mature buck, the temptation is to enter immediately. Consider how your access route, scent, noise, and stand placement could alter the area. Sometimes the best use of the information is to wait for the right wind or continue monitoring from a less intrusive location.
Reanalyze after conditions change
Movement patterns are dynamic. Revisit your images after a major temperature drop, crop harvest, heavy rain, snow, or a shift into the rut. A location that is primarily nocturnal in October may become a daylight opportunity later, while a food source can lose its value overnight.
Make the Camera Work for Your Hunting Plan
The most useful trail camera analysis does not simply identify a buck or count deer. It helps connect animal identity, timing, habitat, and access into one understandable picture. Start with a focused batch, verify questionable results, look for repeated windows, and let field evidence confirm what the images suggest.
The AI trail camera photo analysis feature is free with a Buckeye Hunter Hub membership, giving hunters a practical way to turn overlooked camera files into organized scouting information. Used carefully, it can save sorting time while helping you spend more effort on the decisions that matter in the field.
Join 394 hunters and anglers on Buckeye Hunter Hub — free.
Latest from the Community


New drop
Fresh Buckeye Hunter Hub tees & hoodies


Everything you need to hunt smarter — free
Buckeye Hunter Hub is a free, nationwide platform. Create an account and unlock the full toolkit:
Free Interactive Hunting Map
Mark stands, cameras, and sign. Draw hunting zones with public land & county overlays across all 50 states.
Zones with Group Sharing
Share zones with your hunting group, split property into sections, assign stands, and check in — all in one place.
50 States of Hunting Resources
Season dates, license links, and DNR regulations for every state, kept current so you never miss an opener.
Deer Movement Forecast
Data-driven daily movement predictions using wind, moon, and pressure — know when to sit before you go.
Waterfowl Movement & Tools
Flight-potential forecasts, migration numbers, decoy spread planner, and a full species field guide.
From the Maker Bench

Taggart Outdoors
Padded Rifle Sling
Hand-built in the USA · $134.99
Shop the MakerNew drop
Fresh Buckeye Hunter Hub tees & hoodies
Shop This

StopBox Pro Ward | Wall-Mounted
$179.00$199.99

StopBox Pro Compact
$159.00$179.99

Buckeye Hunter Hub Hoodie — The Point
$32.87

Buckeye Hunter Hub Hoodie — Whoa.
$32.87
E-Tag States

Harvest Tags
E-check means you supply the tag. Printed with the exact fields your state requires.
3-pack $22.95
More Articles
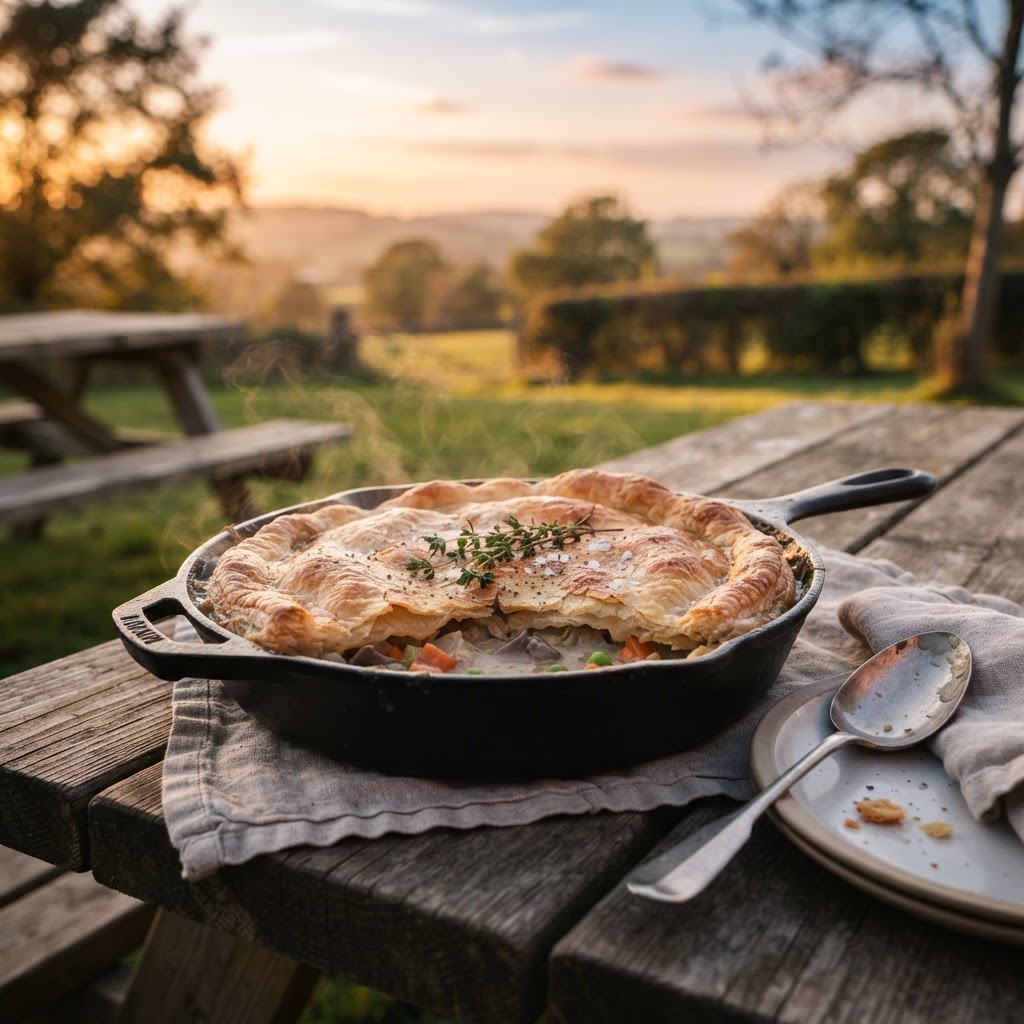
Field to Table: Crafting the Ultimate Pheasant Pot Pie
Elevate your upland harvest with this hearty, comforting pheasant pot pie that balances wild-caught flavors with a flaky, golden crust.
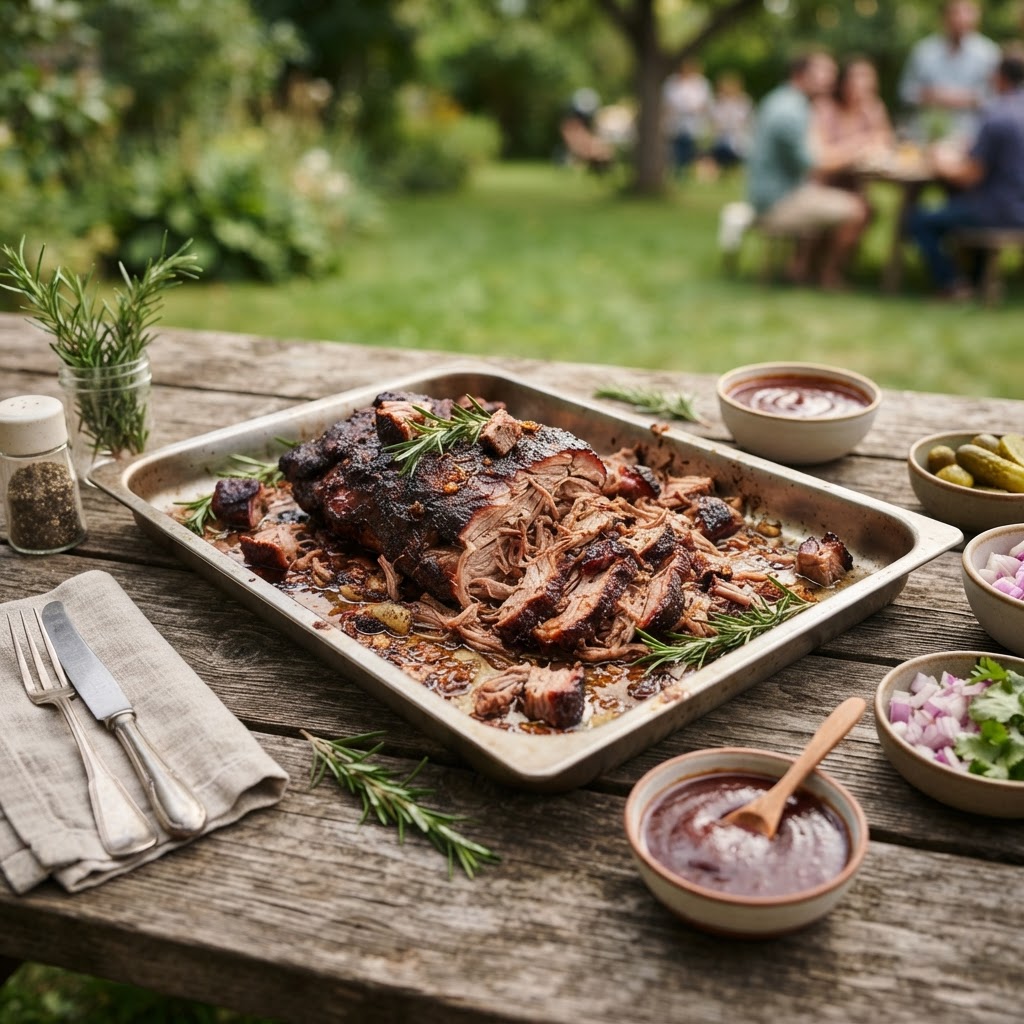
Smoke and Savor: The Ultimate Wild Hog Pulled Pork Guide
Transform your lean wild hog shoulder into a melt-in-your-mouth backyard masterpiece with this low-and-slow culinary approach.

Cast-Iron Elk Backstrap
Elk steak has always been a favorite in my family. Hopefully you enjoy this simple yet delicious recipe.

Venison Burgers
My wife and I love burgers. In our first home I made this recipe from some deer we had in the freezer. It has gone on to be one of our favorite recipes.